Description
Looking to keep your ARB compressor safe and sound? Look no further than the American Adventure Labs Rear Seat ARB Compressor Bracket for Jeep Gladiator JT.
This mount allows you to place your compressor behind the rear seat in a well-protected and ventilated interior area, keeping it free from dust, debris, and mud.
Crafted out of 1/8″ 5052 aluminum, this bracket is lightweight and corrosion-resistant - perfect for all your off-road adventures. If you prefer that clean stealth look, you can also choose the black powder coated option. Installation is simple - no drilling required! Just screw in two screws into the plastic behind the seat.
INSTALLATION:
Knowing that it’s super tight behind the rear seat of the Gladiator, AAL fought very hard for the perfect fitment of the dual ARB compressor. To accomplish the maximum amount of clearance, they replicated the mounting bracket of the compressor, which gave an extra 1/8″ of an inch of spacing. It was definitely worth the trouble seeing that the result came out perfect!
The install process is extremely simple – no drilling required, but you will need to screw two screws into the plastic behind the rear seat.
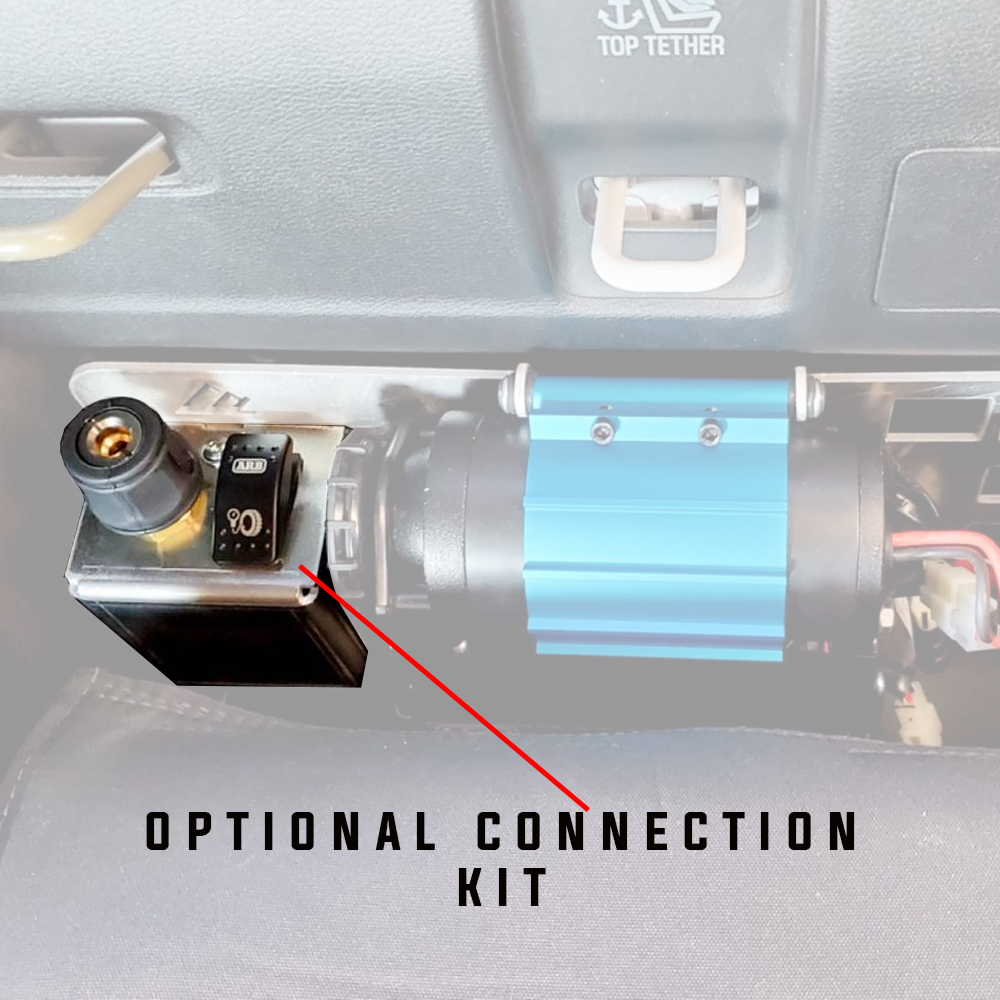
OPTIONAL CONNECTION KIT:
The main bracket (without the Connection Kit) consists of the two main aluminum parts (left and right). It does not include the switch/coupler housing as those parts are included in the optional Connection Kit. You would not need the connection kit if you were going to hardwire the compressor into an AUX switch and plumb it into an whip system.