
XPLOR Rear Molle Hatch Installation Instructions
Tools Needed:
- 7/16 Wrench/Socket
- 1/2 Wrench/Socket
- 9/16 Wrench and Socket
- Ratchet
- 5/32 Allen Wrench/Socket
- 3/16 Allen Wrench/Socket
- Scissors/Cutting Blade
Estimated installation time: 1 hour
Installation Instructions
Step 1:
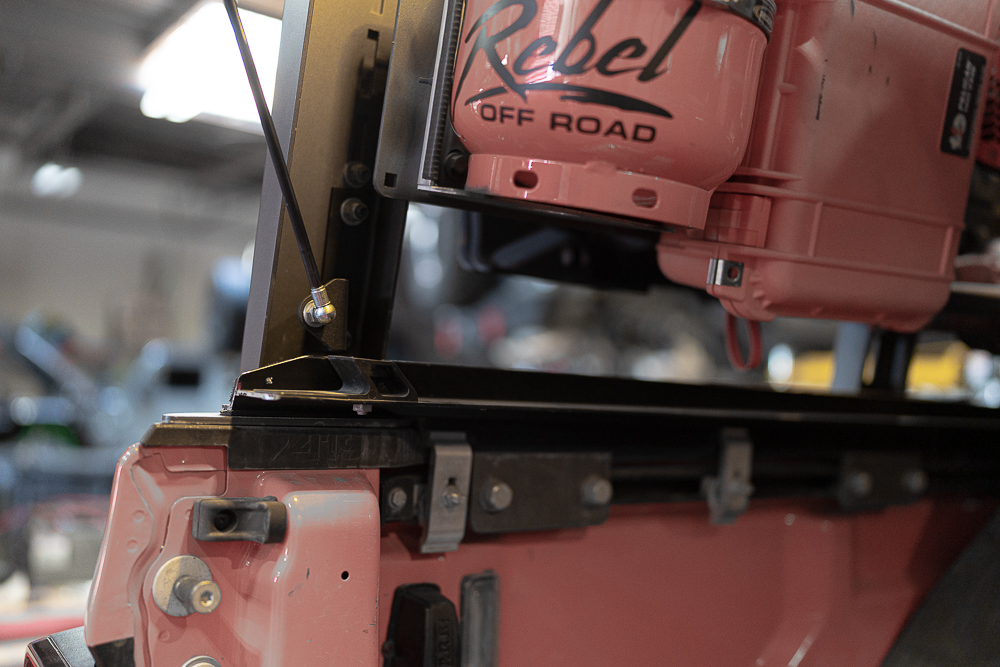
Begin assembly of your XPLOR XCAP Enclosure Hatch by first laying out all parts, brackets and hardware. Start by removing the rear carriage bolts from the rear crossbar, 2 per side. Attach the hinge pivot bracket to the rear crossbar using the same hardware. (Note that the hinge brackets are side specific in a way that the carriage bolt holes are positioned low and should be closer to the sides of the bed rack, see pictures for reference).
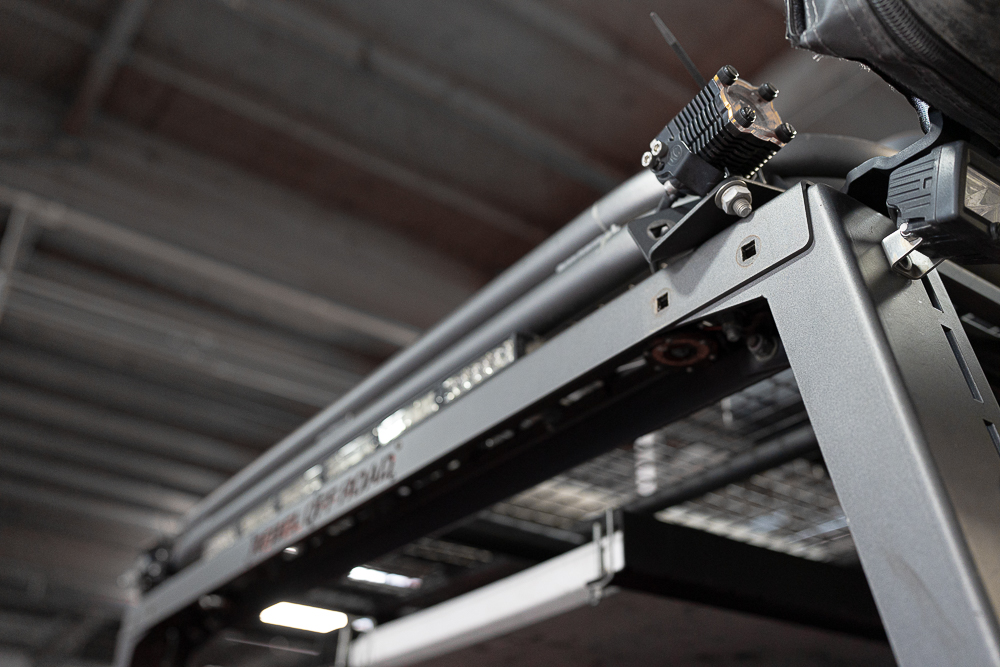
Step 2:
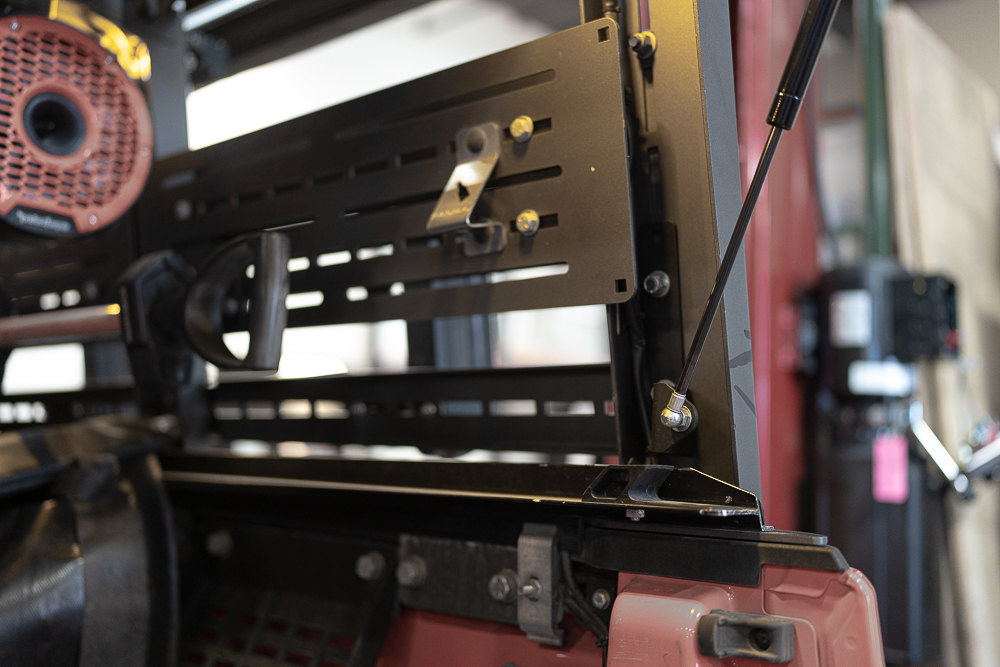
Attach the lower gas strut mounting bracket to the inside of the rear uprights using carriage bolts and nylock nuts supplied with the XPLOR rack hardware kit. (Note that the hinge brackets are side specific and the gas strut mounting hole should face the rear of the vehicle).
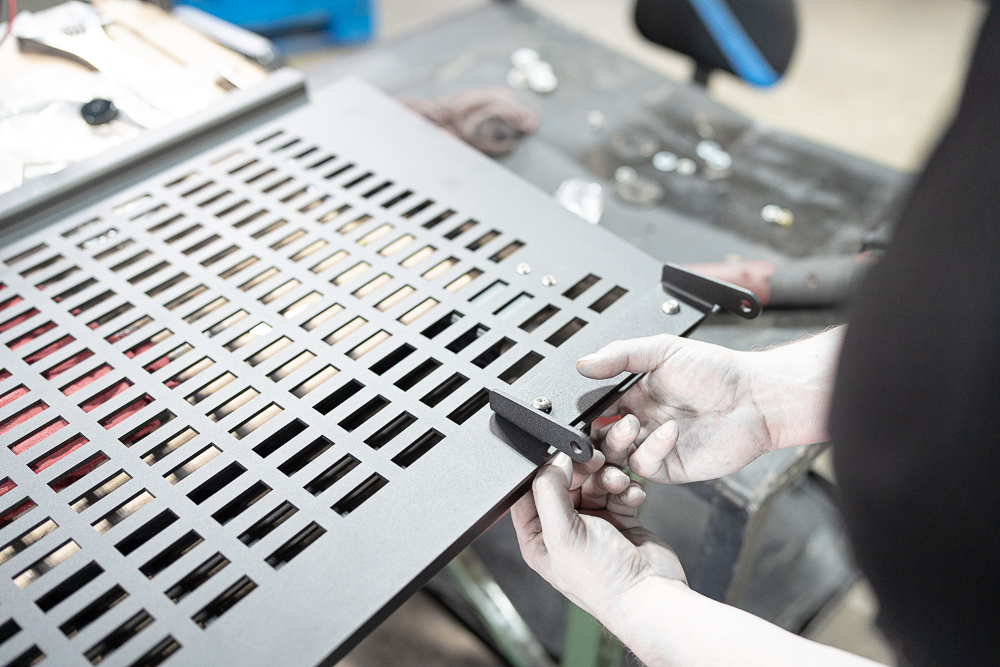
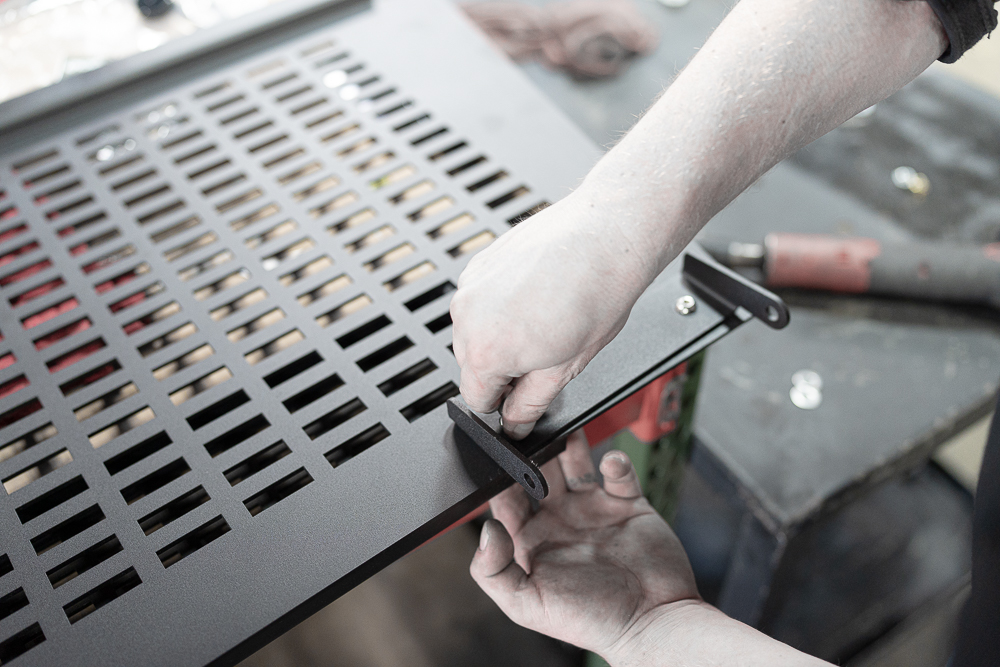
Step 3:
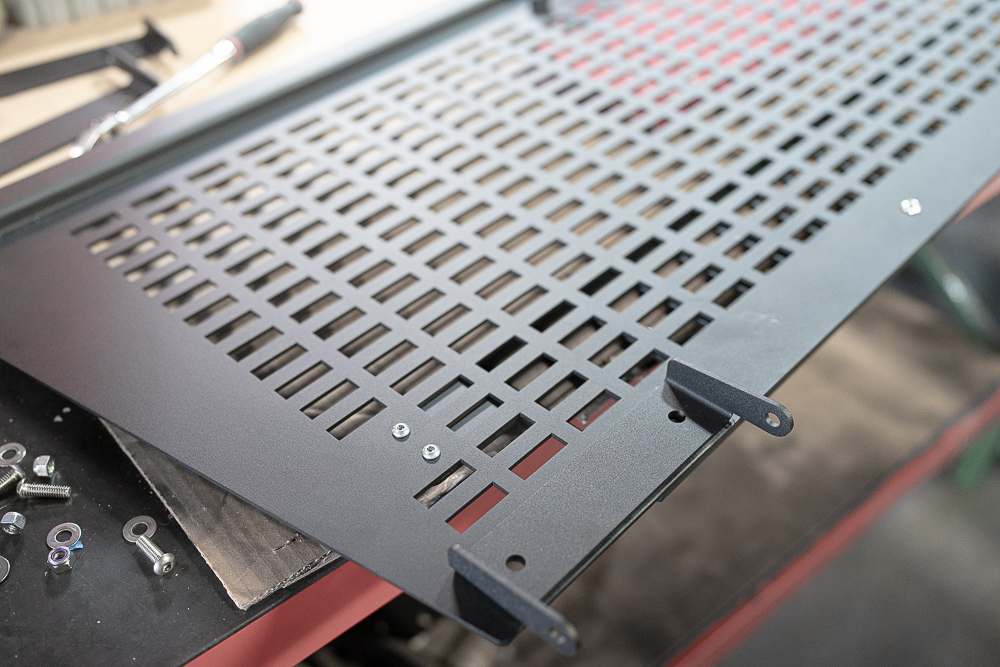
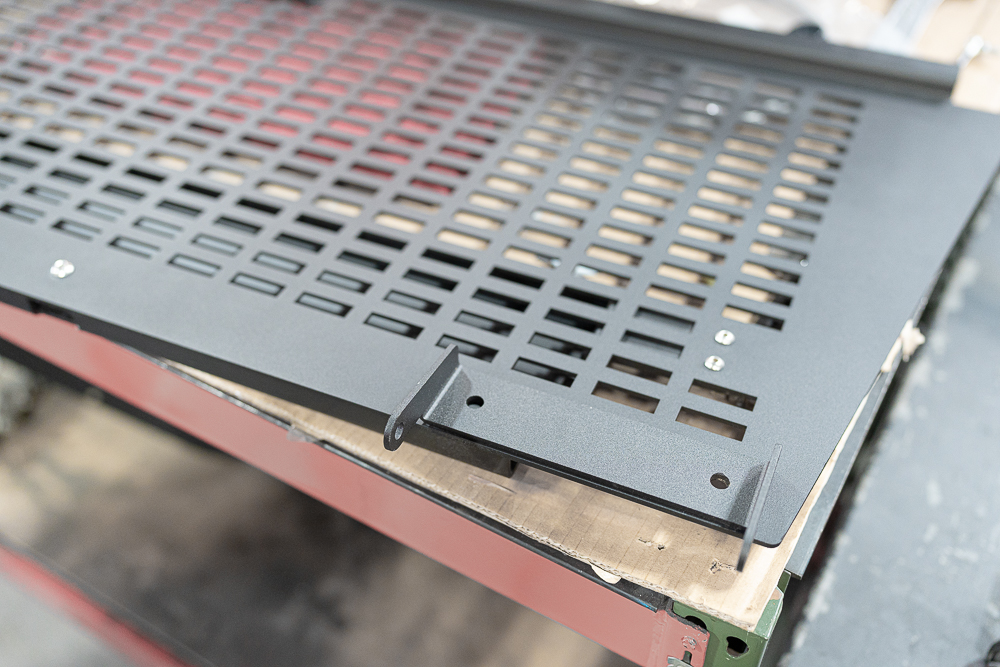
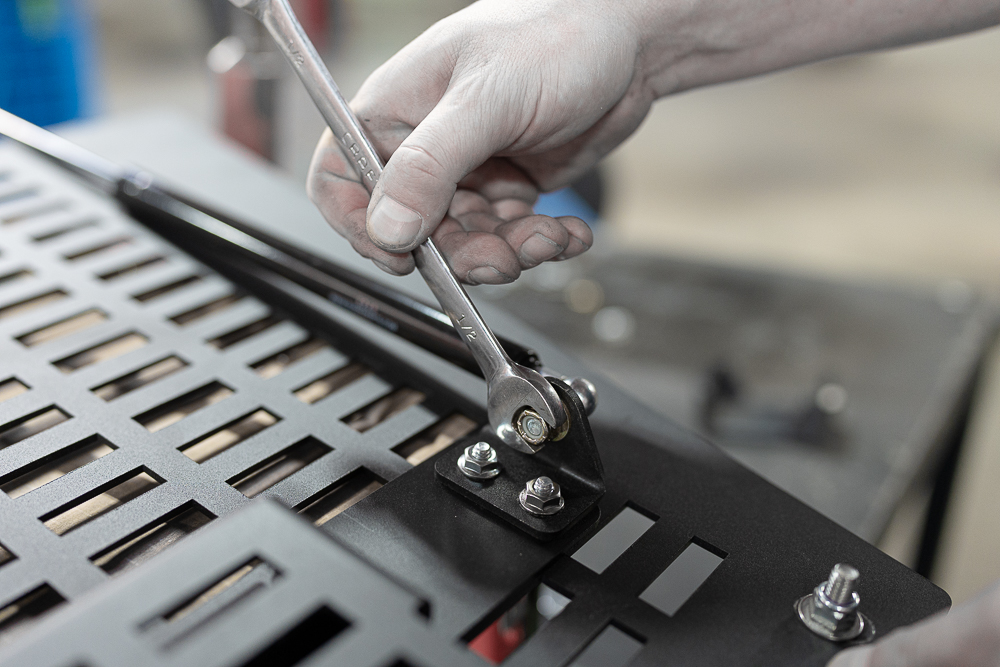
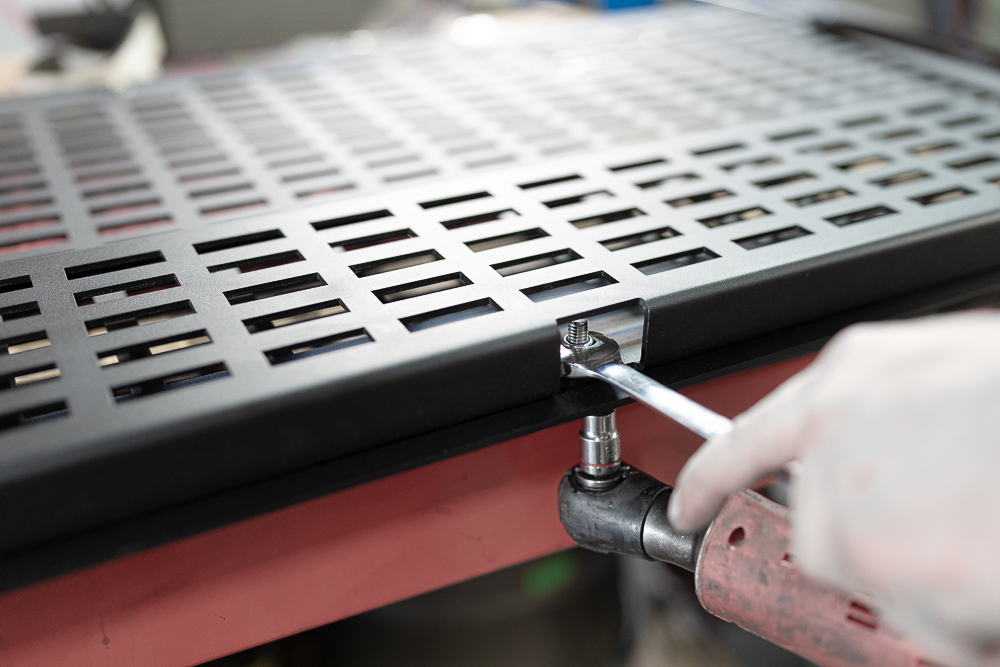
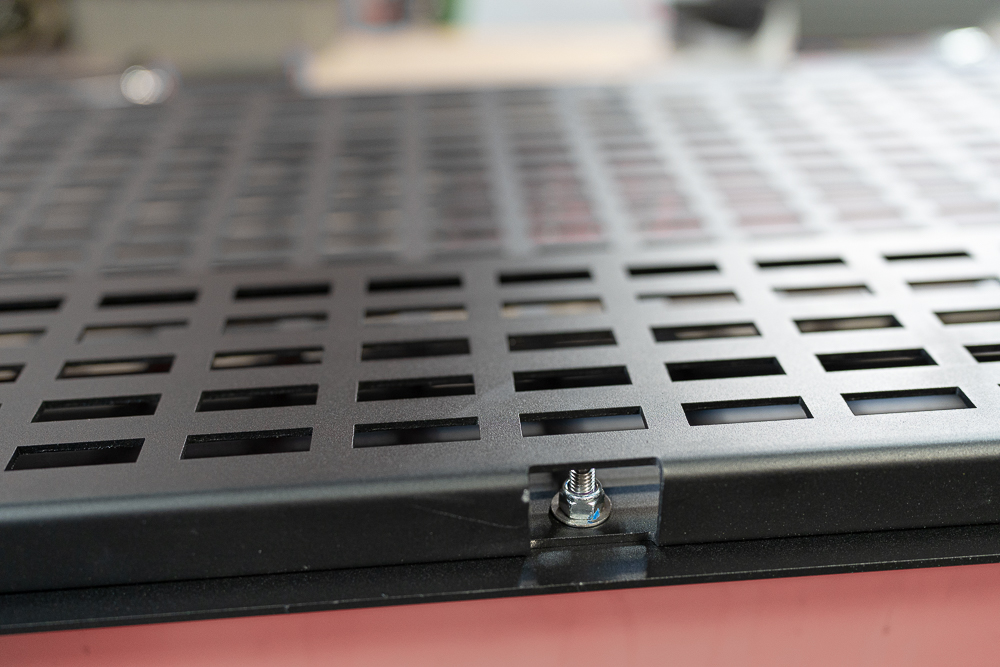
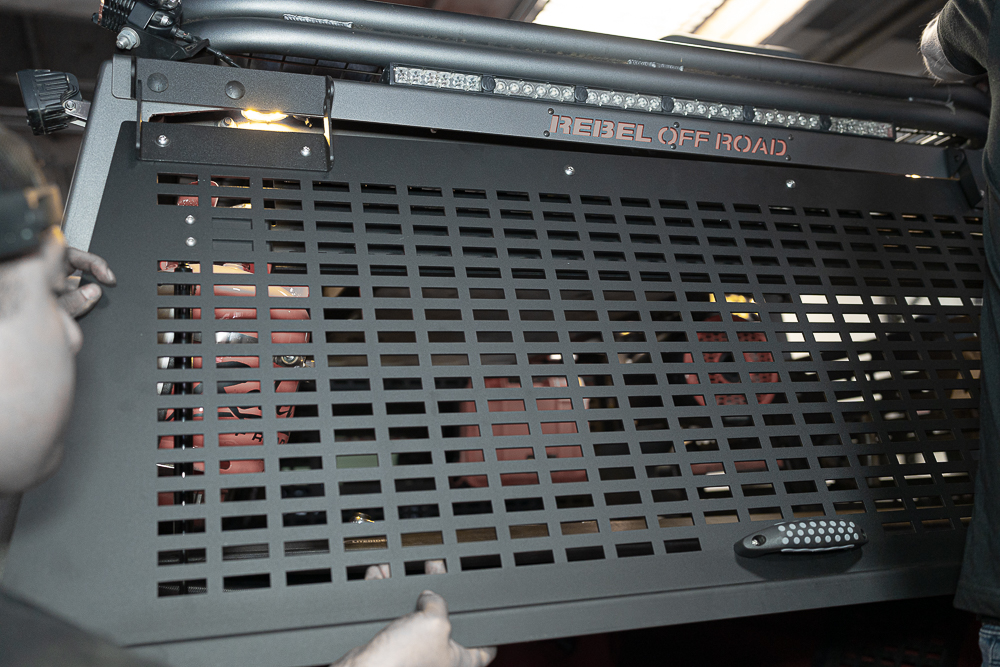
Next, mount hinge bracket on the outside of the rear hatch plate using 4: 5/16-18x1” button head allen bolts, 4: 5/16 flat washers and 4: 5/16-18 nylock nuts making sure the hinge holes are facing up (If the optional Molle Panel Attachment is being used, only install hardware in the two outer bolt holes; one per side). Attach grab handle using 2: 10/32 x 1” button head allen bolts, 2 flat washers and 2: 10/32 nylock nuts. Then mount gas strut triangle bracket to the back side of the rear hatch using 4: 1/4-20x3/4” button head allen bolts and 4: 1/4-20 serrated nuts. (Note the brackets must have strut mounting hole facing outward toward the sides of the hatch). If the optional Molle Panel Attachment is being installed, please go to Step 4. If not, please move on to Step 5.
 \
\

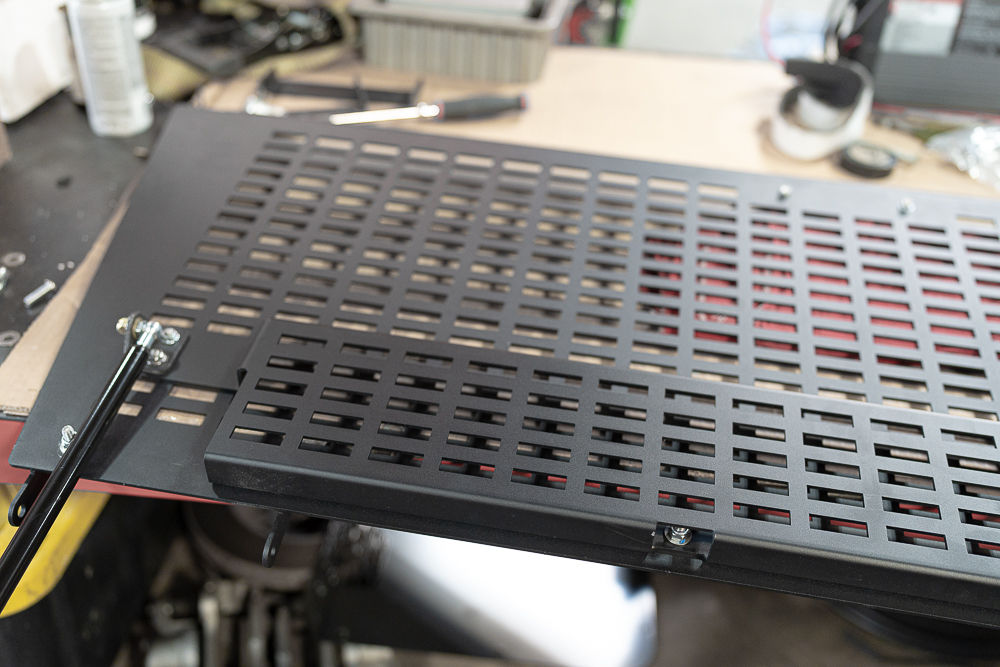
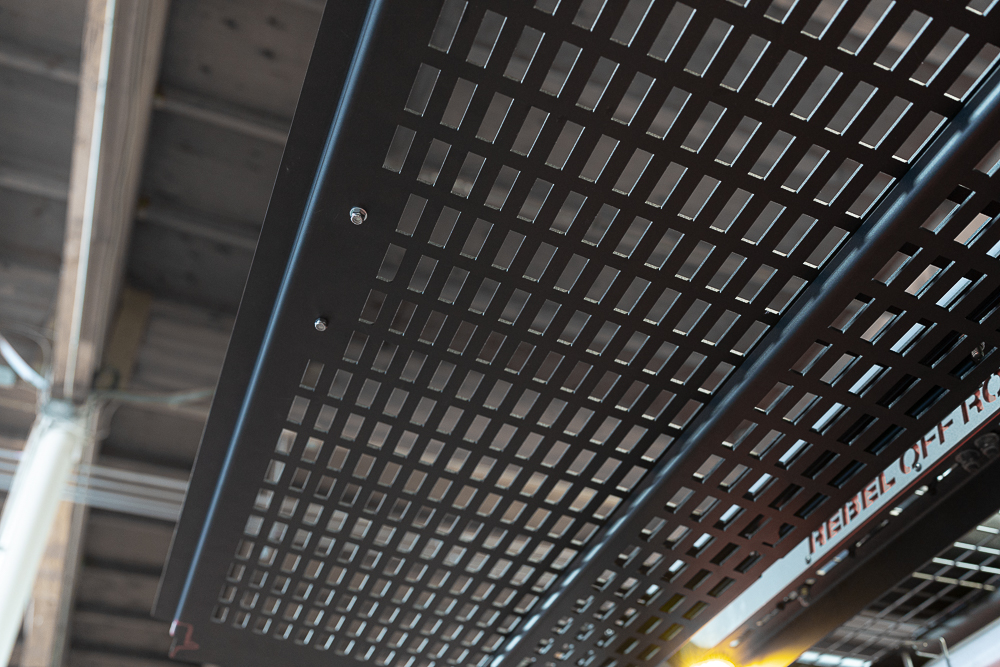
Step 4:
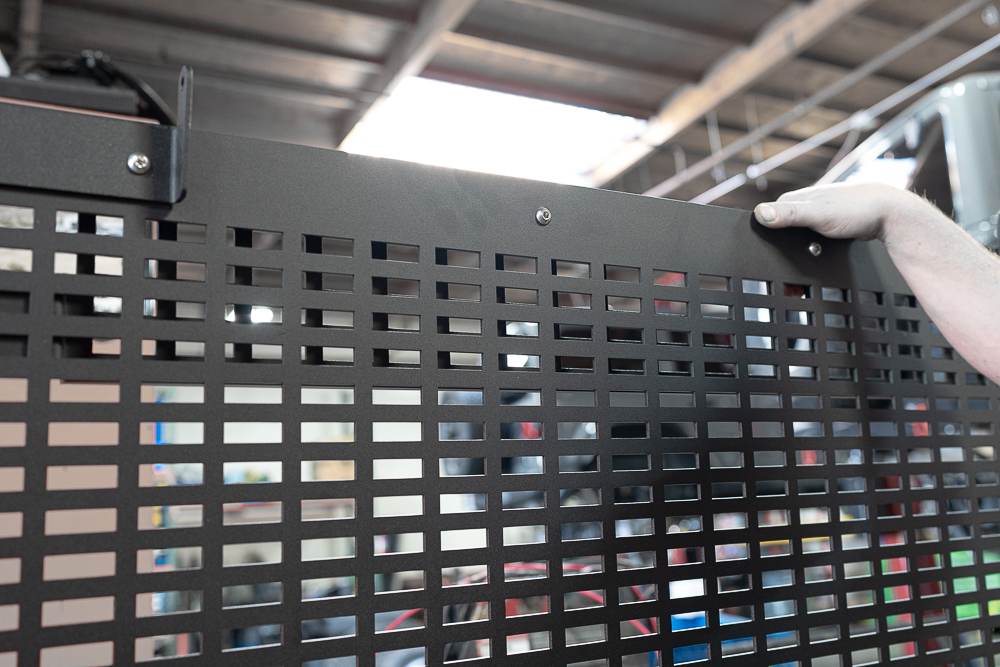
Align the Molle Panel Attachment on the back side of the hatch. Install remaining hinge bolts through the hinge bracket and Molle Panel. Next install 2: 5/16-18 x 1” button head allen bolts and 2: 5/16-18 nylock nuts in the remaining inner holes making sure all hardware is tight.
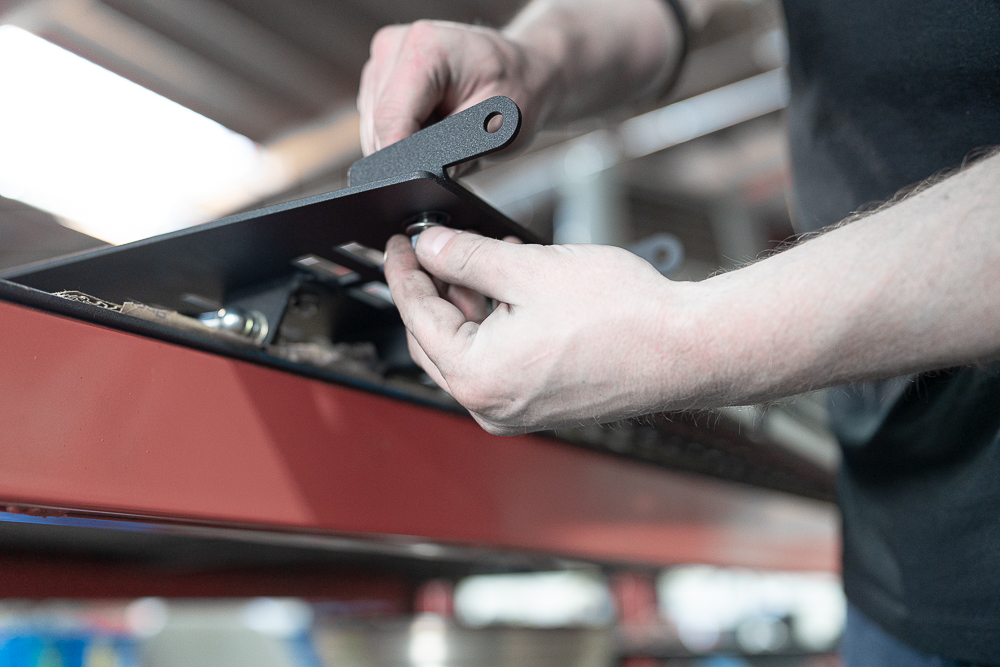
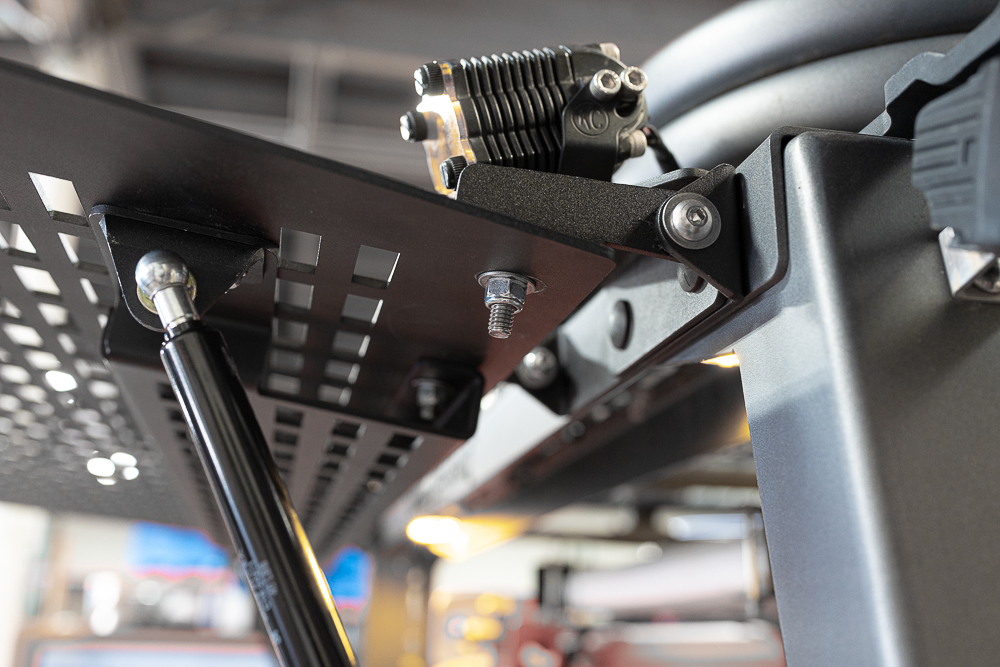
Step 5:
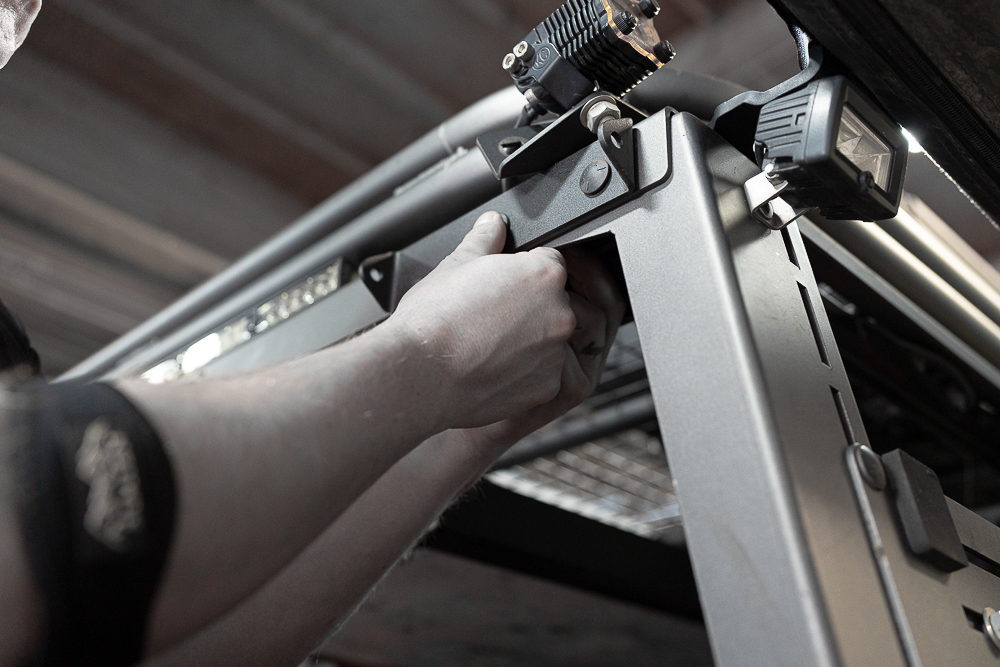
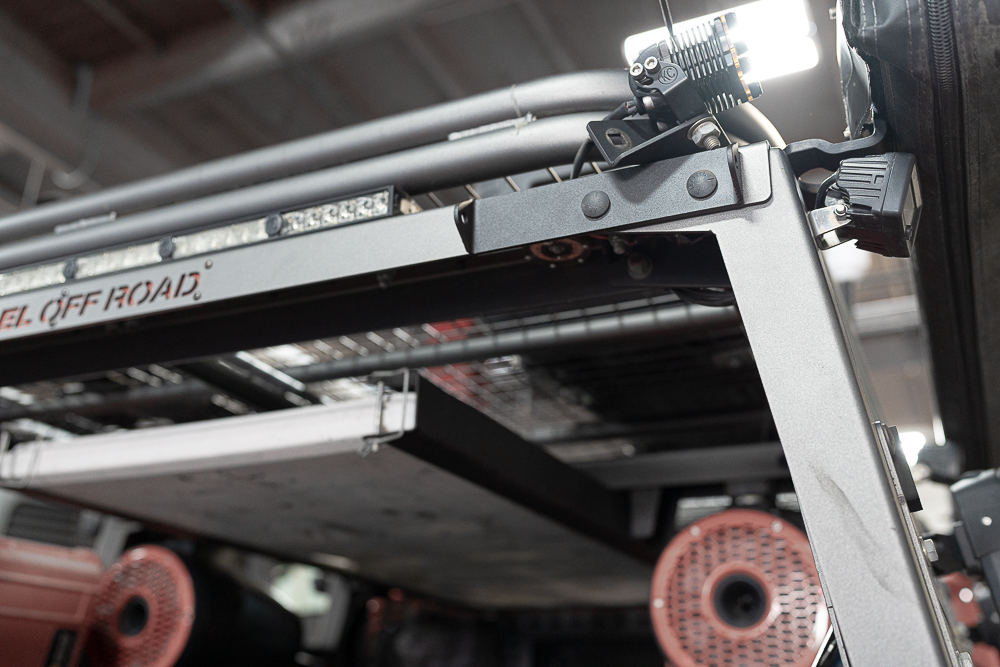
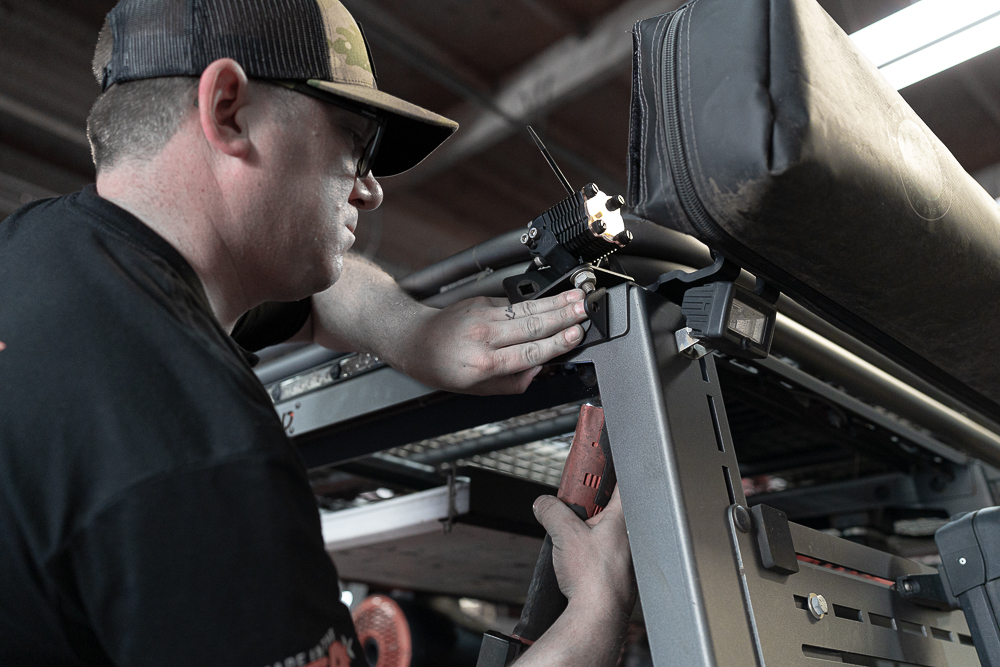
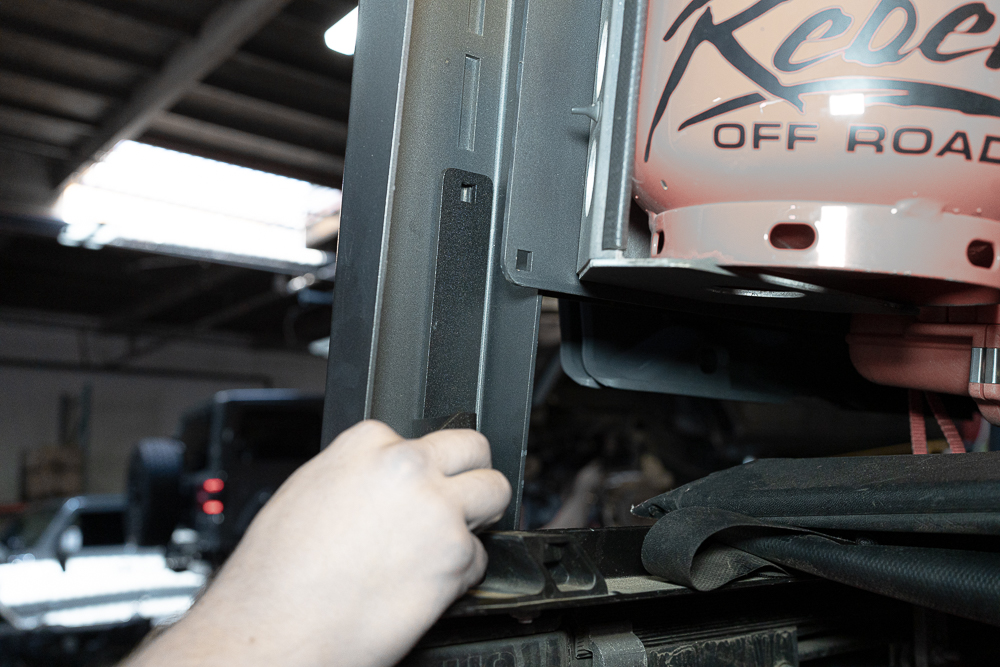
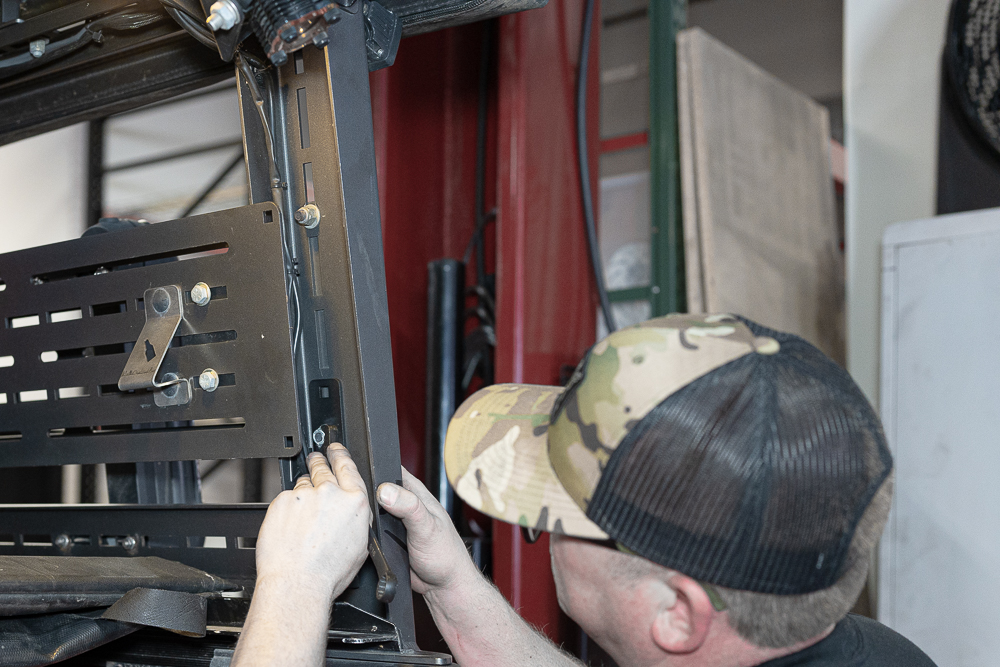
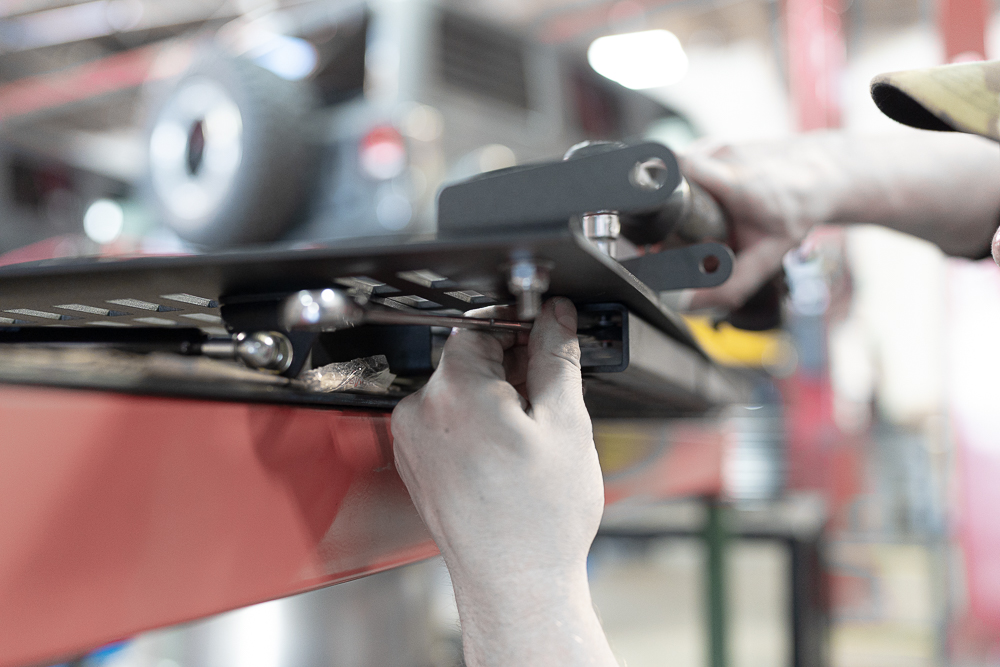
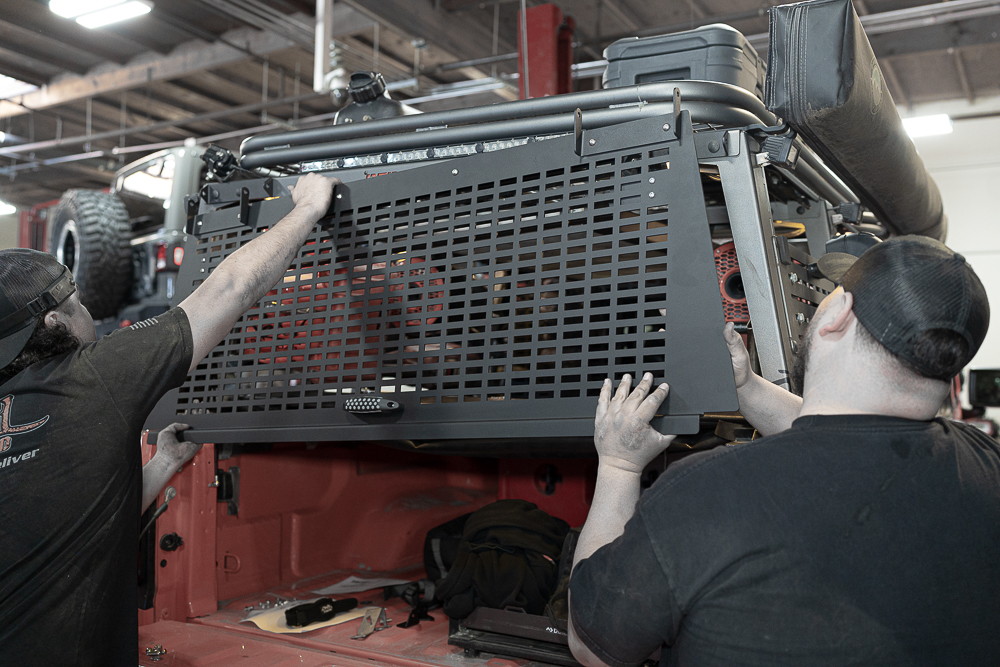
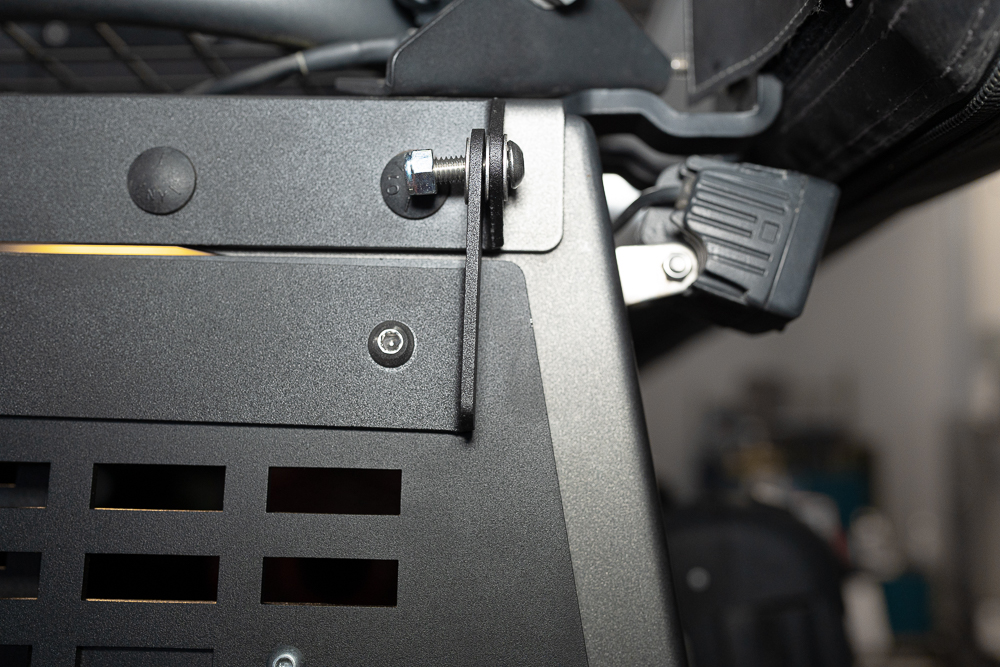
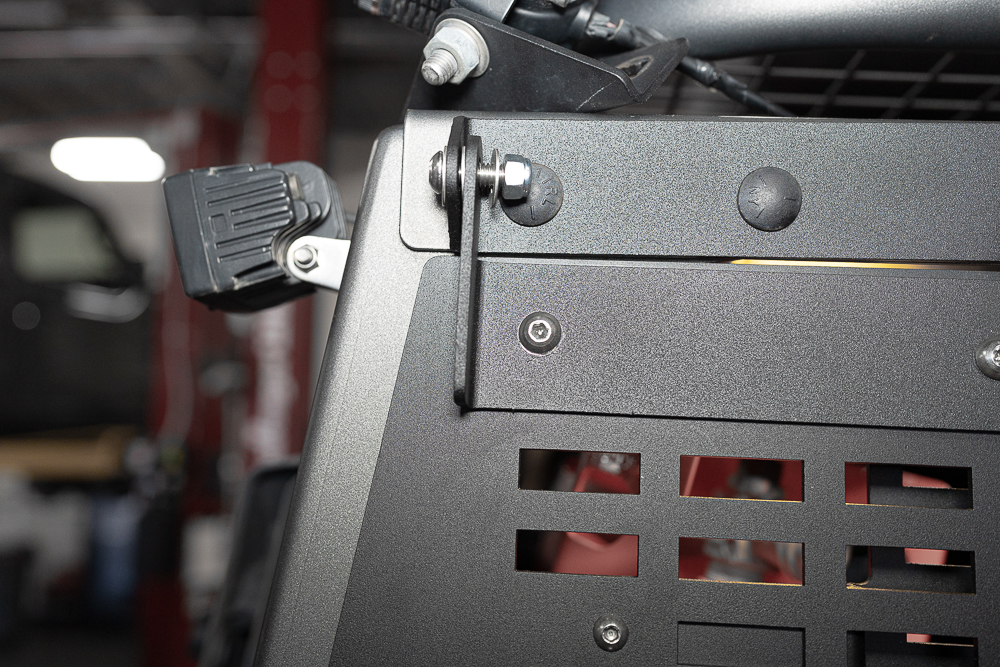
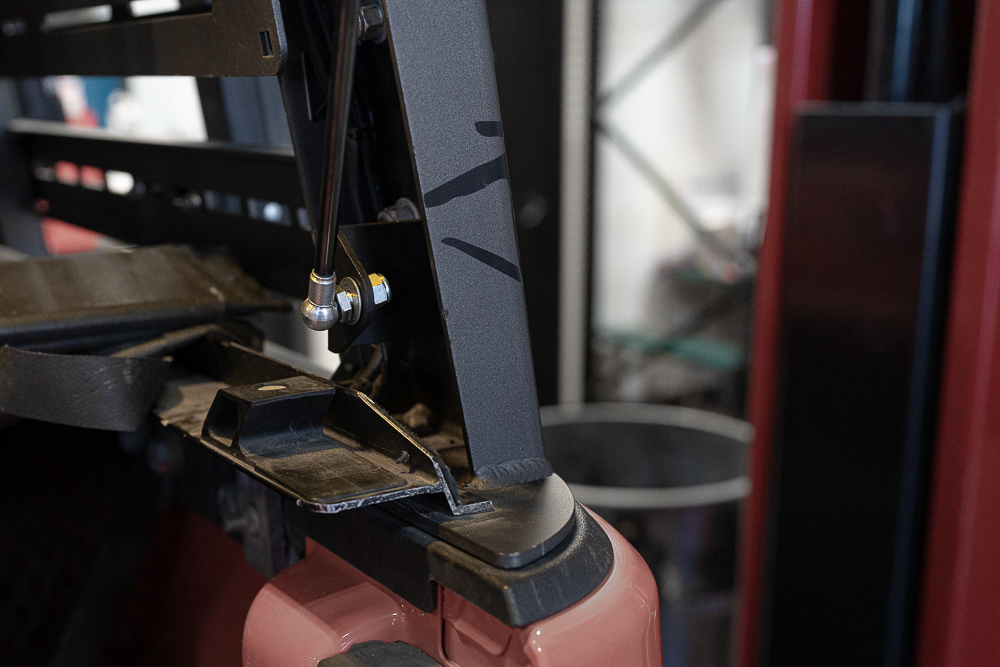
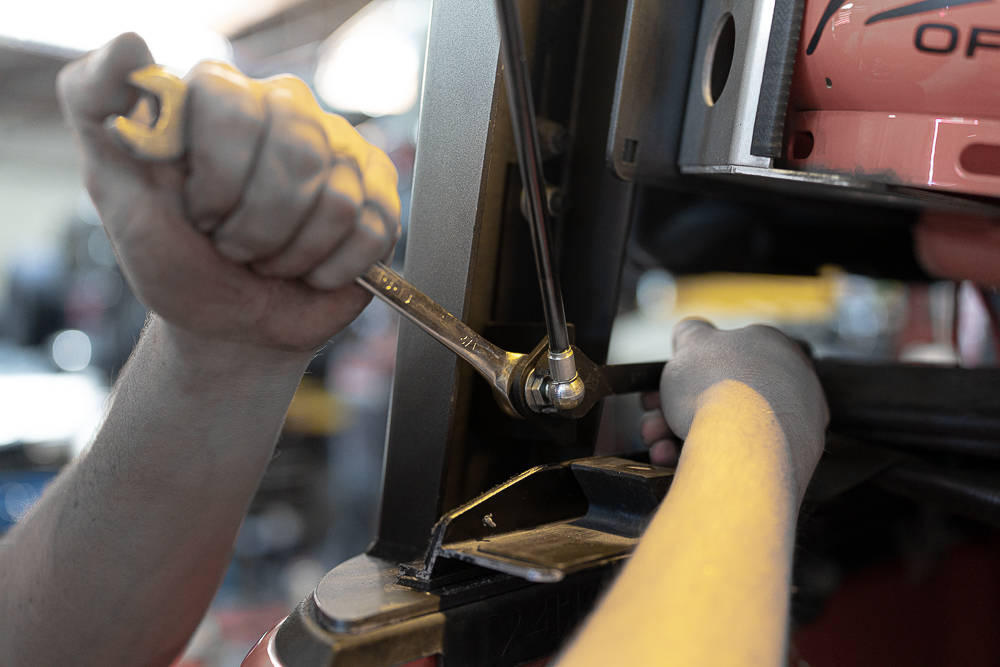
The rear hatch enclosure can now be mounted to the XPLOR bed rack by mounting the hinge bracket to the hinge pivot using 4: 5/16-18x1” button head allen bolts, 4: 5/16-18 nylock nuts and 12: 5/16 flat washers. One washer should be installed between the bolt head and bracket, the second washer installed between the hinge and hinge pivot brackets, and the last washer in between the bracket and nylock nut (see pictures for reference). It is important that the hinge bolts are not overtight, or the hatch will not fully open once the gas struts are installed. Slowly open and close hatch enclosure taking note of the space between the top of the hatch and the rear crossbar. Some adjustments may need to be made to ensure proper alignment allowing space for hatch to fully open without touching crossbar.
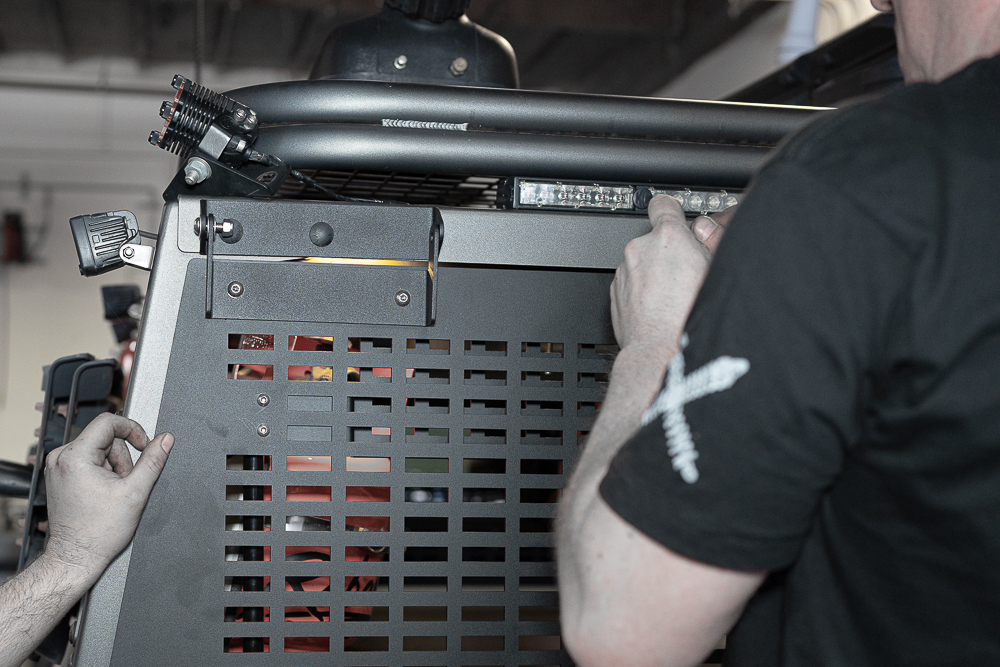
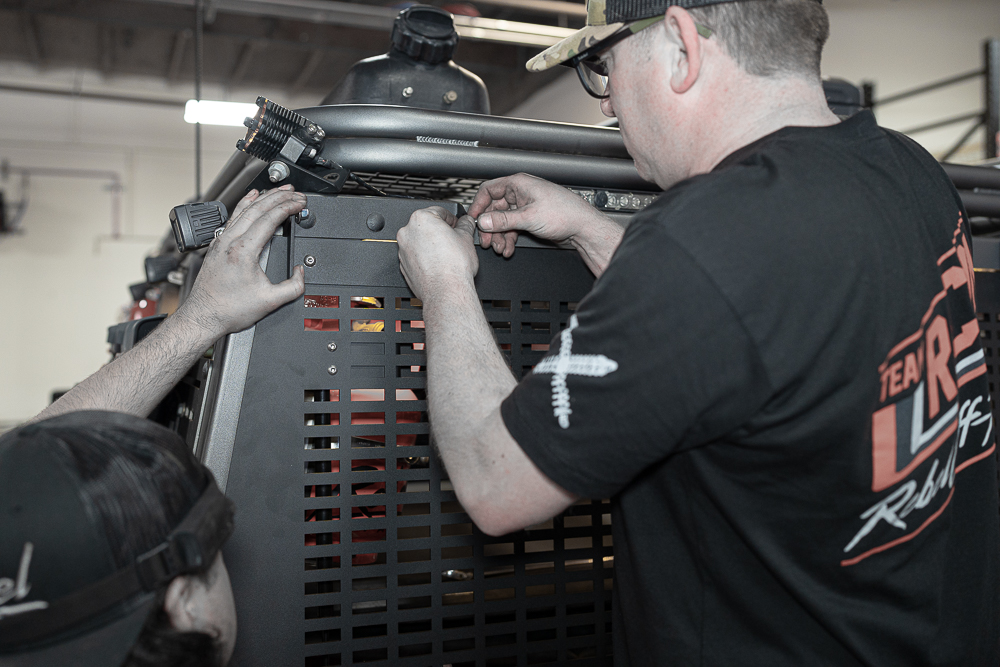

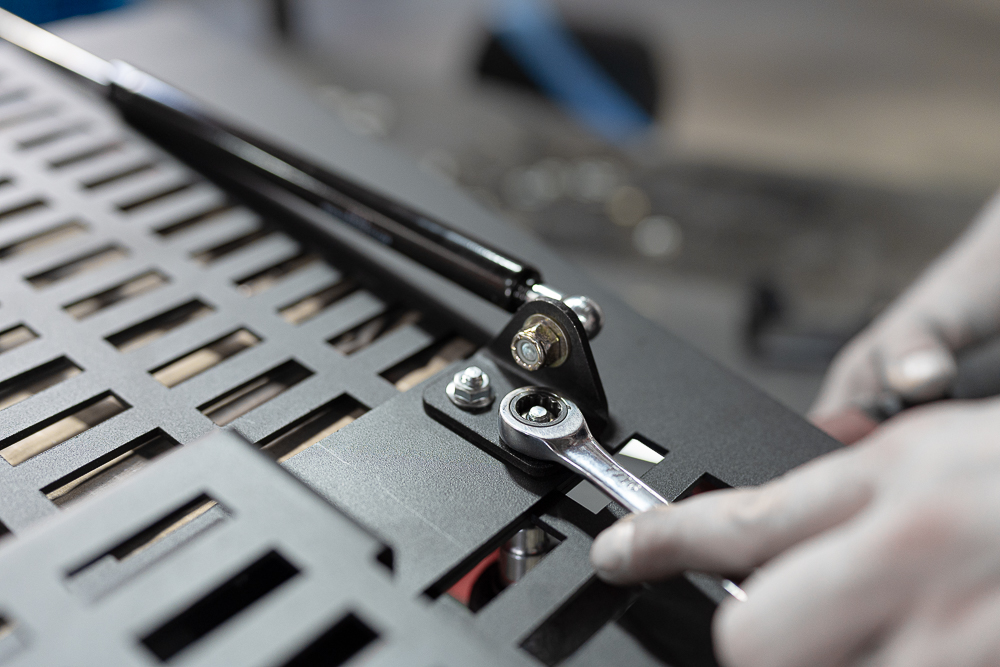
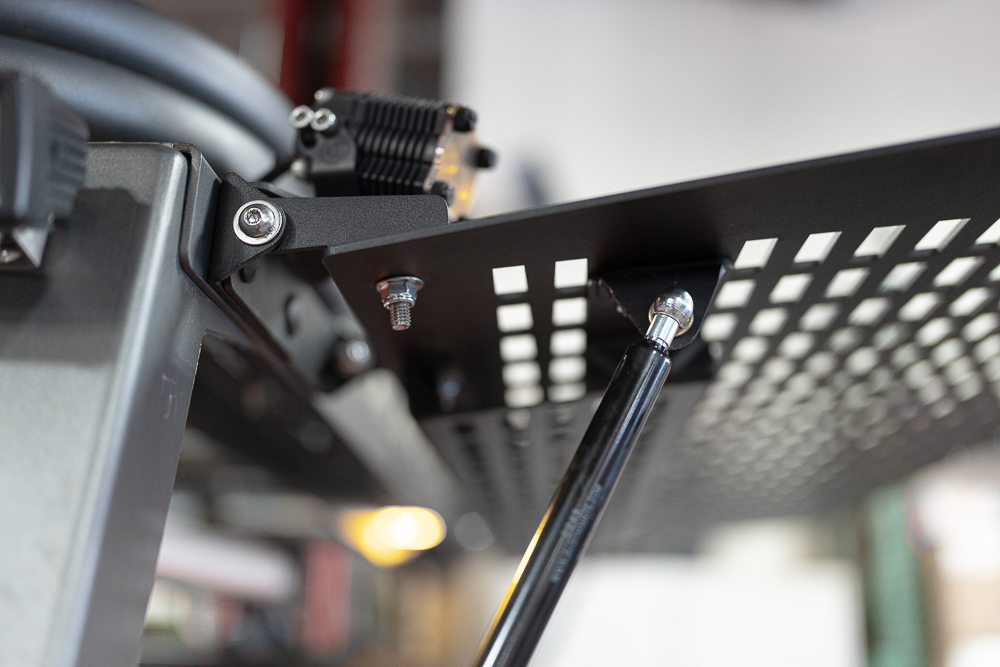
Step 6:
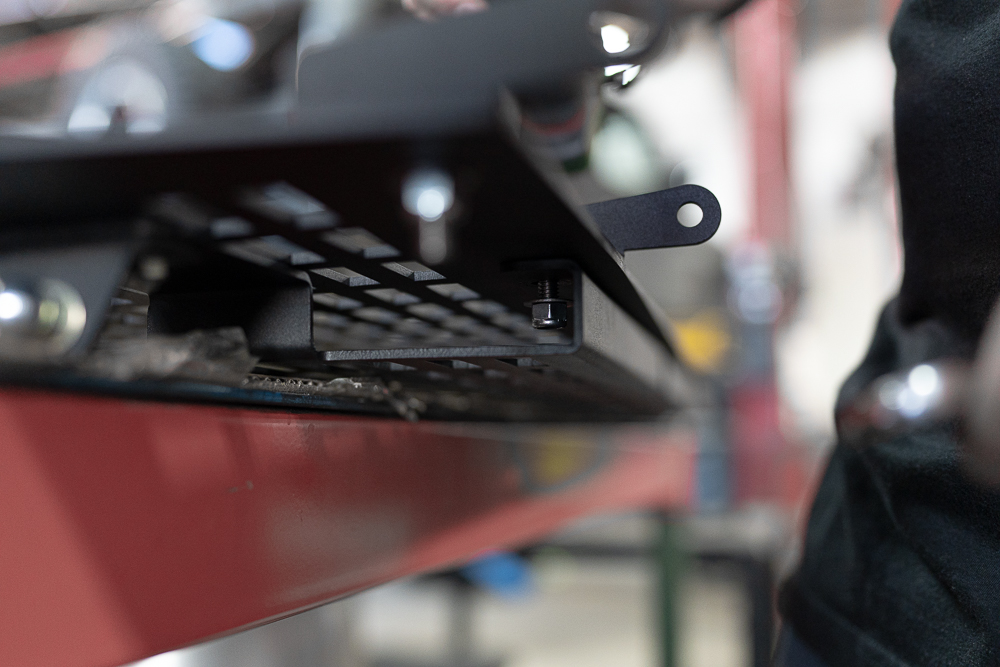
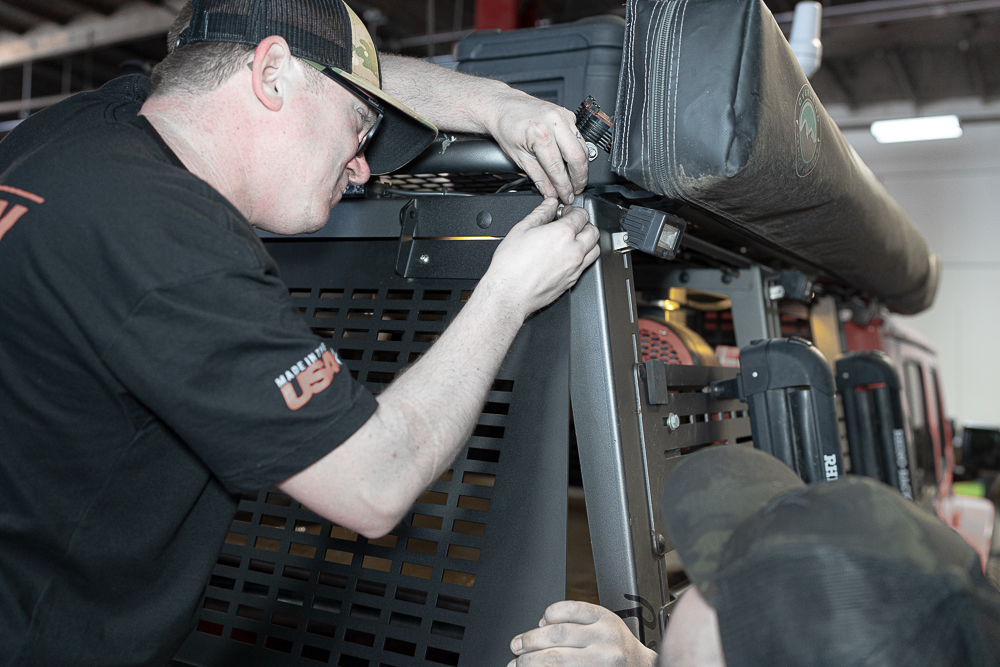
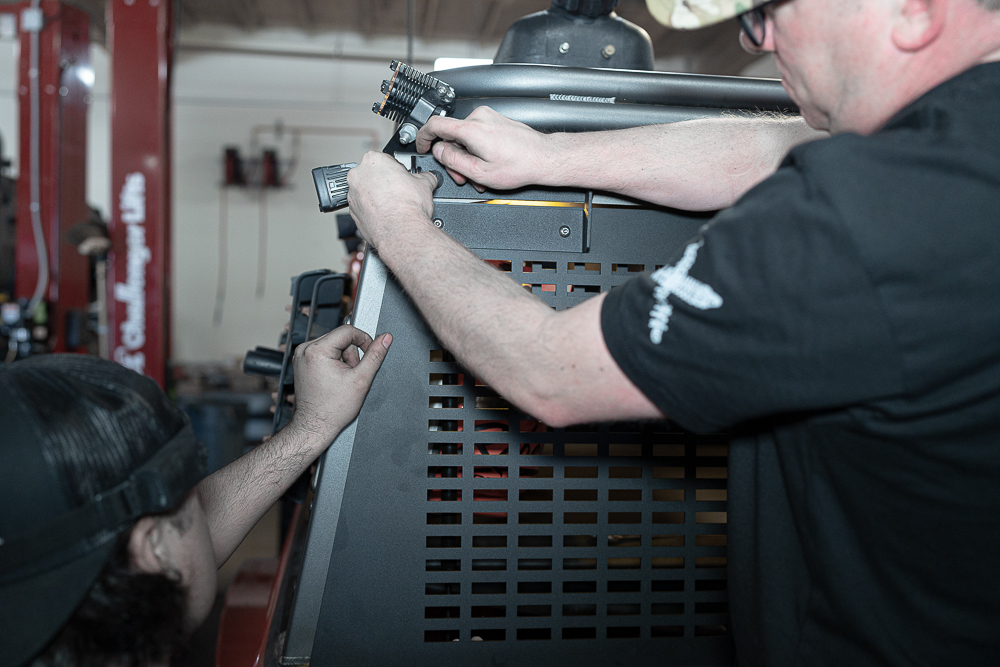
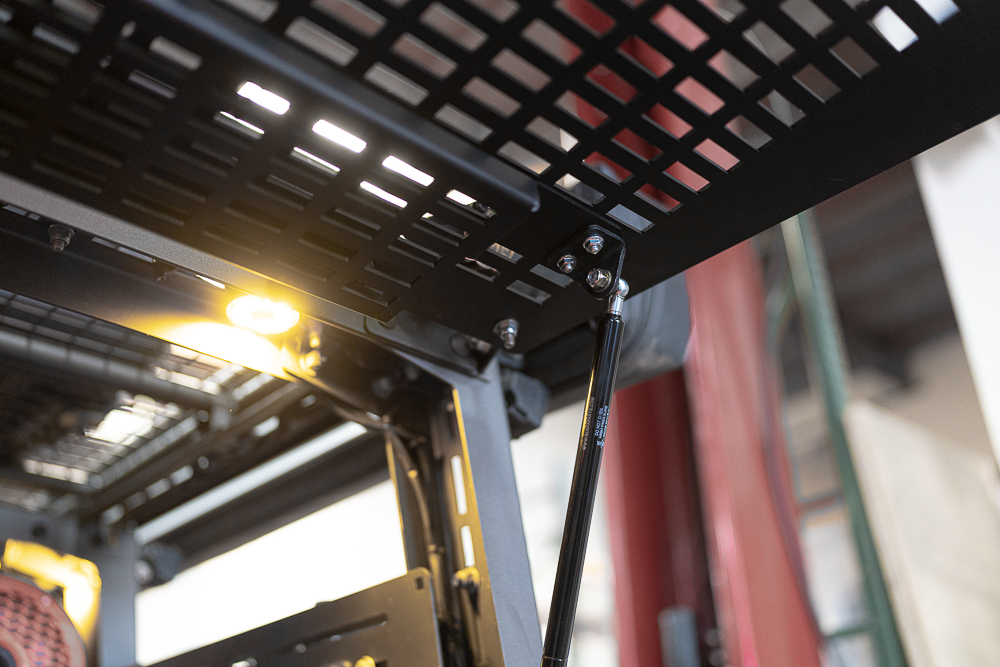
With the help of another person or using a prop tool, prop open hatch enclosure to begin mounting gas struts. Ensure the gas strut is in the correct orientation with the strut body on top and the strut shaft on bottom. Then mount gas struts from the triangle bracket to the lower gas strut mounting bracket using 4: 5/16 nylock nuts and 4: 5/16 flat washers. Carefully close and open the hatch to confirm struts open the hatch fully and that the hinge bolts are not overtight.


Step 7:
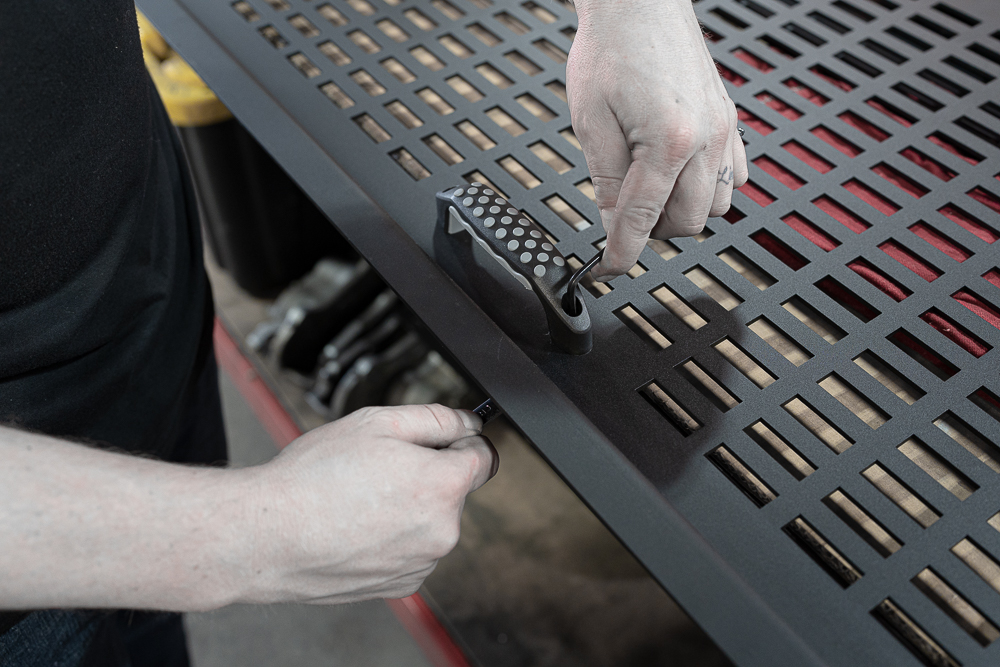
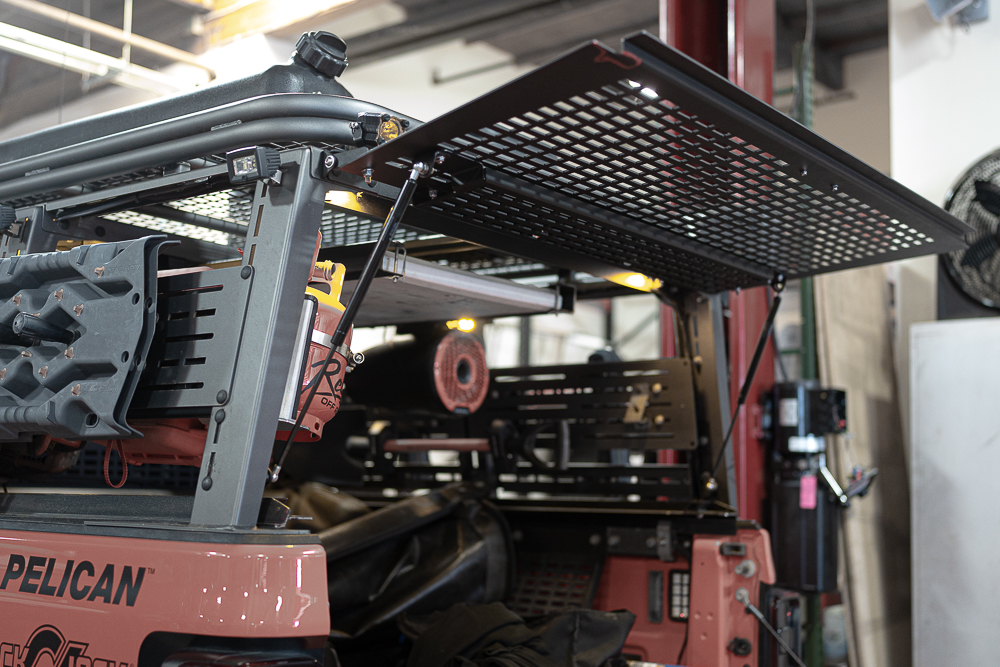
Lastly, cut foam strip the length of the bottom lip of the rear hatch. Peel strip tape off the adhesive side of the foam and firmly stick to the bottom edge of the lower lip ensuring the foam strip lays between the tailgate and hatch enclosure.
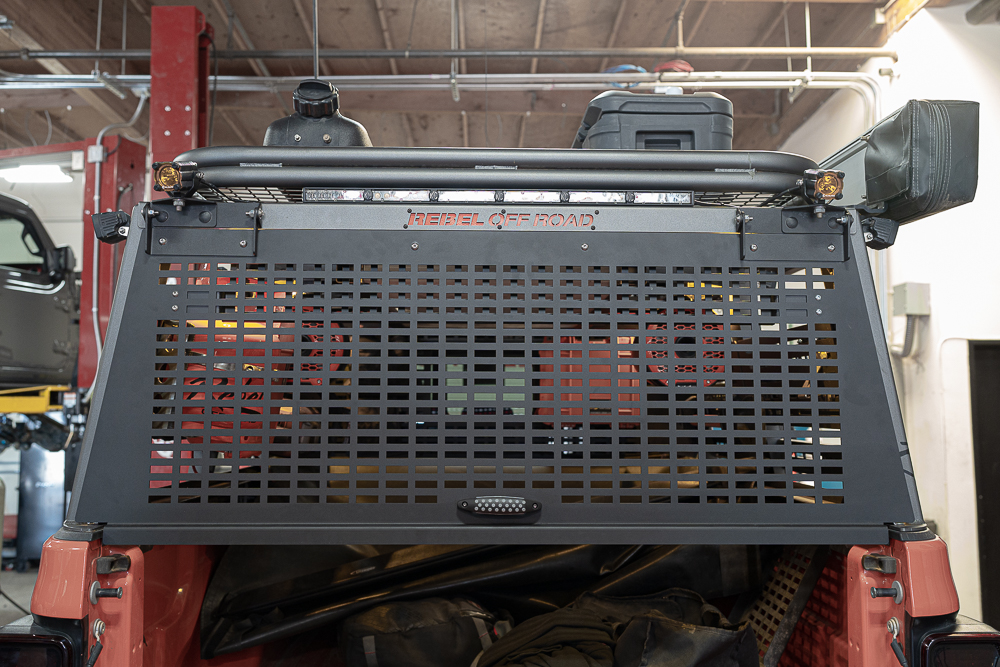
We hope you enjoy your new Rebel Off Road XPLOR XCAP Rear Hatch Enclosure!
For a complete list of XCAP Parts and all other accessories we offer for your XPLOR Bed Rack, please visit us at www.RebelOffRoad.com
Recent Posts
-

Rebel JL/JLU Rear Inner Fender Liner Install Instructions
Installing your Rebel Off Road Rear JL/JLU Inner Fenders is a straightforward way to clean up …Jul 09, 2026 -

Where to Mount an ARB Twin Compressor in a Jeep Wrangler JL
A Clean Onboard Air Solution for Jeep Wrangler JLU Owners Airing down your tires is one of t …Jun 24, 2026 -

No Test Run, No Second Chances | Moab Trails Before SEMA
This Moab trip landed right at the perfect moment. Late October, crisp desert air, and just d …Mar 24, 2026